

Are you looking for the techniques to guarantee a perfectly cooked pot roast each and every time? Better yet – success even without a recipe?
In this post I’ll describe how you can transform an average roast into a delicious, melt-in-your-mouth pot roast with a killer gravy to boot.

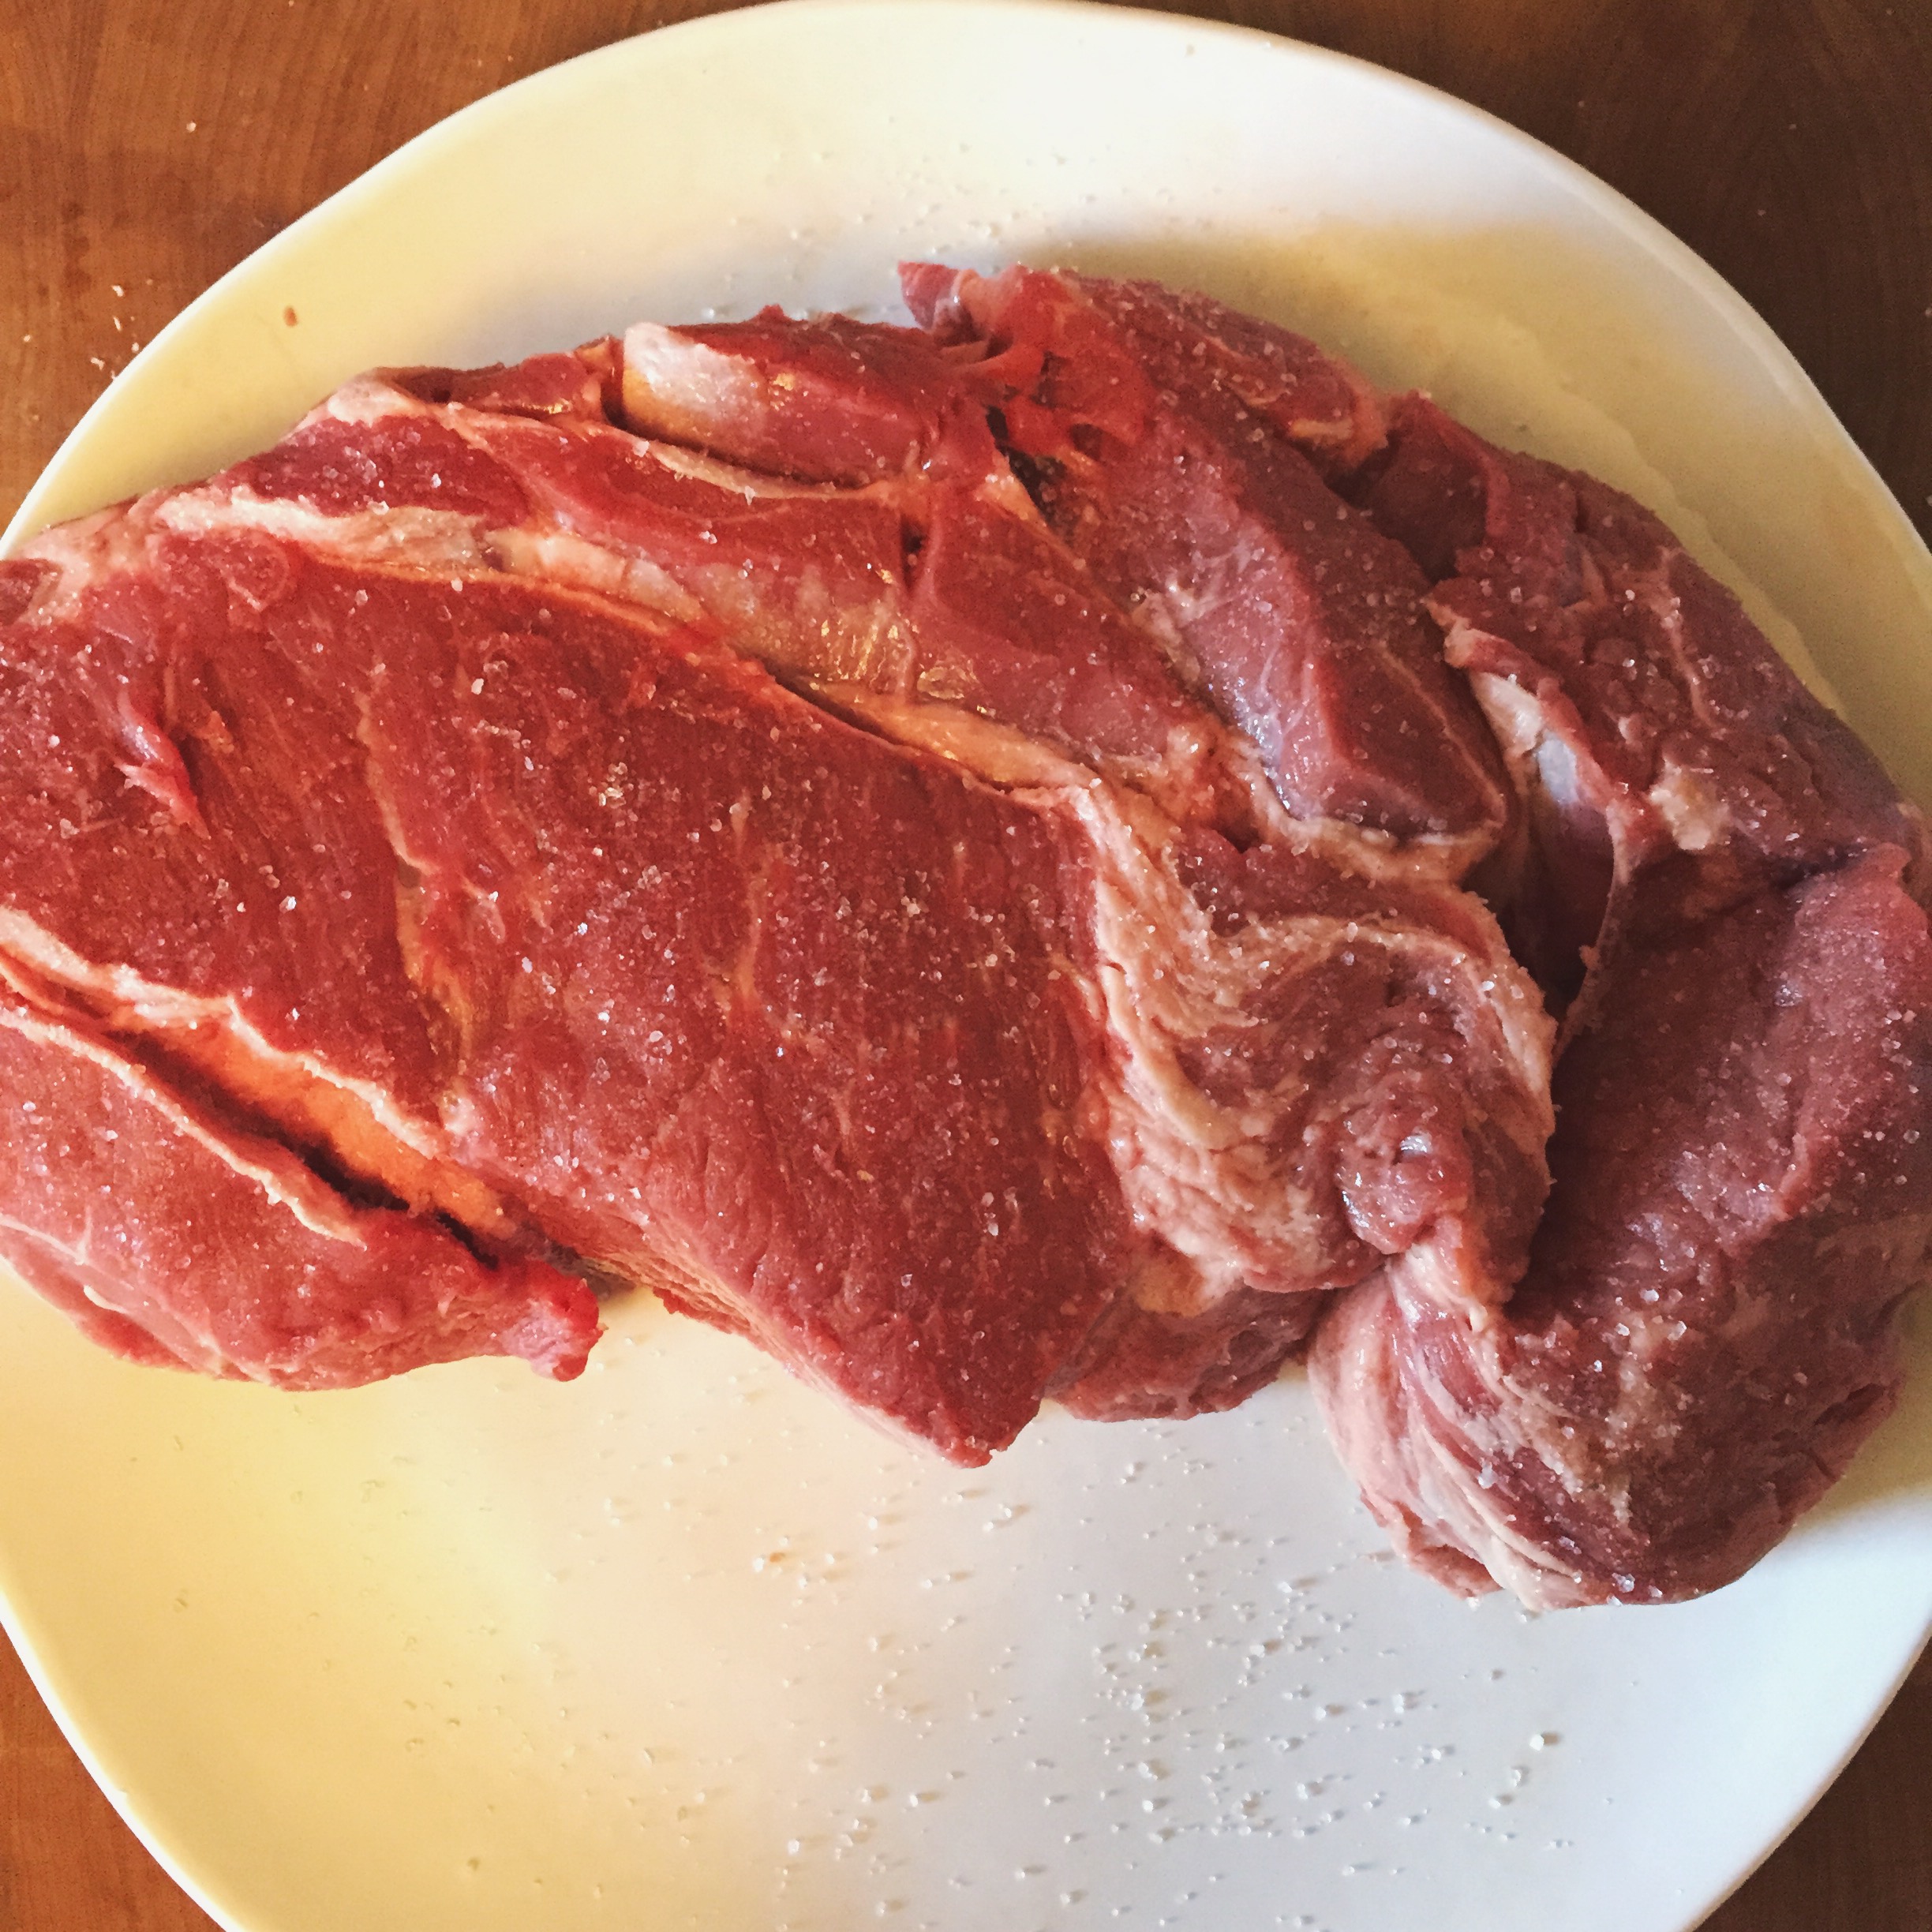
1. Choose a roast with lots of marbling throughout
- Lean cuts of meat are not made for pot roasting.
- The more marbling throughout the roast, the more flavour the finished pot roast will have.
- Marbling will melt down during the long cooking process, creating immense flavour.
- If you have a very lean cut of meat it’s probably best to consider another cooking method.
2. Always bring your meat to room temperature before cooking
- A room temperature roast will allow for much more even cooking.
- A cold roast will encourage steaming instead of browning when it makes contact with the hot pan. If you allow too much moisture to escape as steam you will not be able to achieve the desired golden crust!
3. Gather ALL of your pot roast ingredients prior to heating your pan for browning
- Organization is key to a successful pot roast.
- Decide on the base of veggies for your sauce (aka your mirepoix). A good standard ratio is 2-1-1 (Carrots-Onions-Celery).
- Decide on what root vegetables and in what quantity you will add to your pot roast. Usually you will want to add these somewhere around the halfway mark so that they do not become overcooked.
- Decide on any aromatics such as garlic, ginger, fresh herbs, spices. Usually you will want to add these after you have sautéed your mirepoix veggies.
- Chop all of the ingredients in advance!


4. Pat your meat completely dry and salt liberally
- A successful golden crust can only be achieved by completely drying the meat before searing.
- Don’t overlook how important it is to liberally season the roast at this stage. This is the only step where the meat is seasoned directly.
- Salt will bring out natural juices. The roast may require further patting dry before searing in the hot pan.
5. Bring your pan to proper temperature before you begin searing
- The roast will not stick to a properly heated pan.
- If your pan has been properly heated, even if you move the meat right after placing it down, it will not stick!
6. Leave your meat alone while it browns
- Don’t disturb the meat for at least 5 minutes. Brown the other side equally to form a nice golden crust.
- Adjust your heat to ensure you don’t burn the brown bits that form at the bottom of your pan. These brown bits are one of the most important contributors to the flavouring for your gravy!
- A golden crust is key to a flavourful roast. The crisp crust will melt into the sauce as the roast cooks and add incredible flavour to the pot roast and sauce.

7. Don’t let your cooking bits burn
- You will notice that little brown bits will form on the hot pan as you sear your meat. These bits will be incorporated into the sauce (in the deglazing step) and are the key to the most flavourful gravy imaginable!
- Reduce heat if necessary to prevent scorching or burning of your bits!
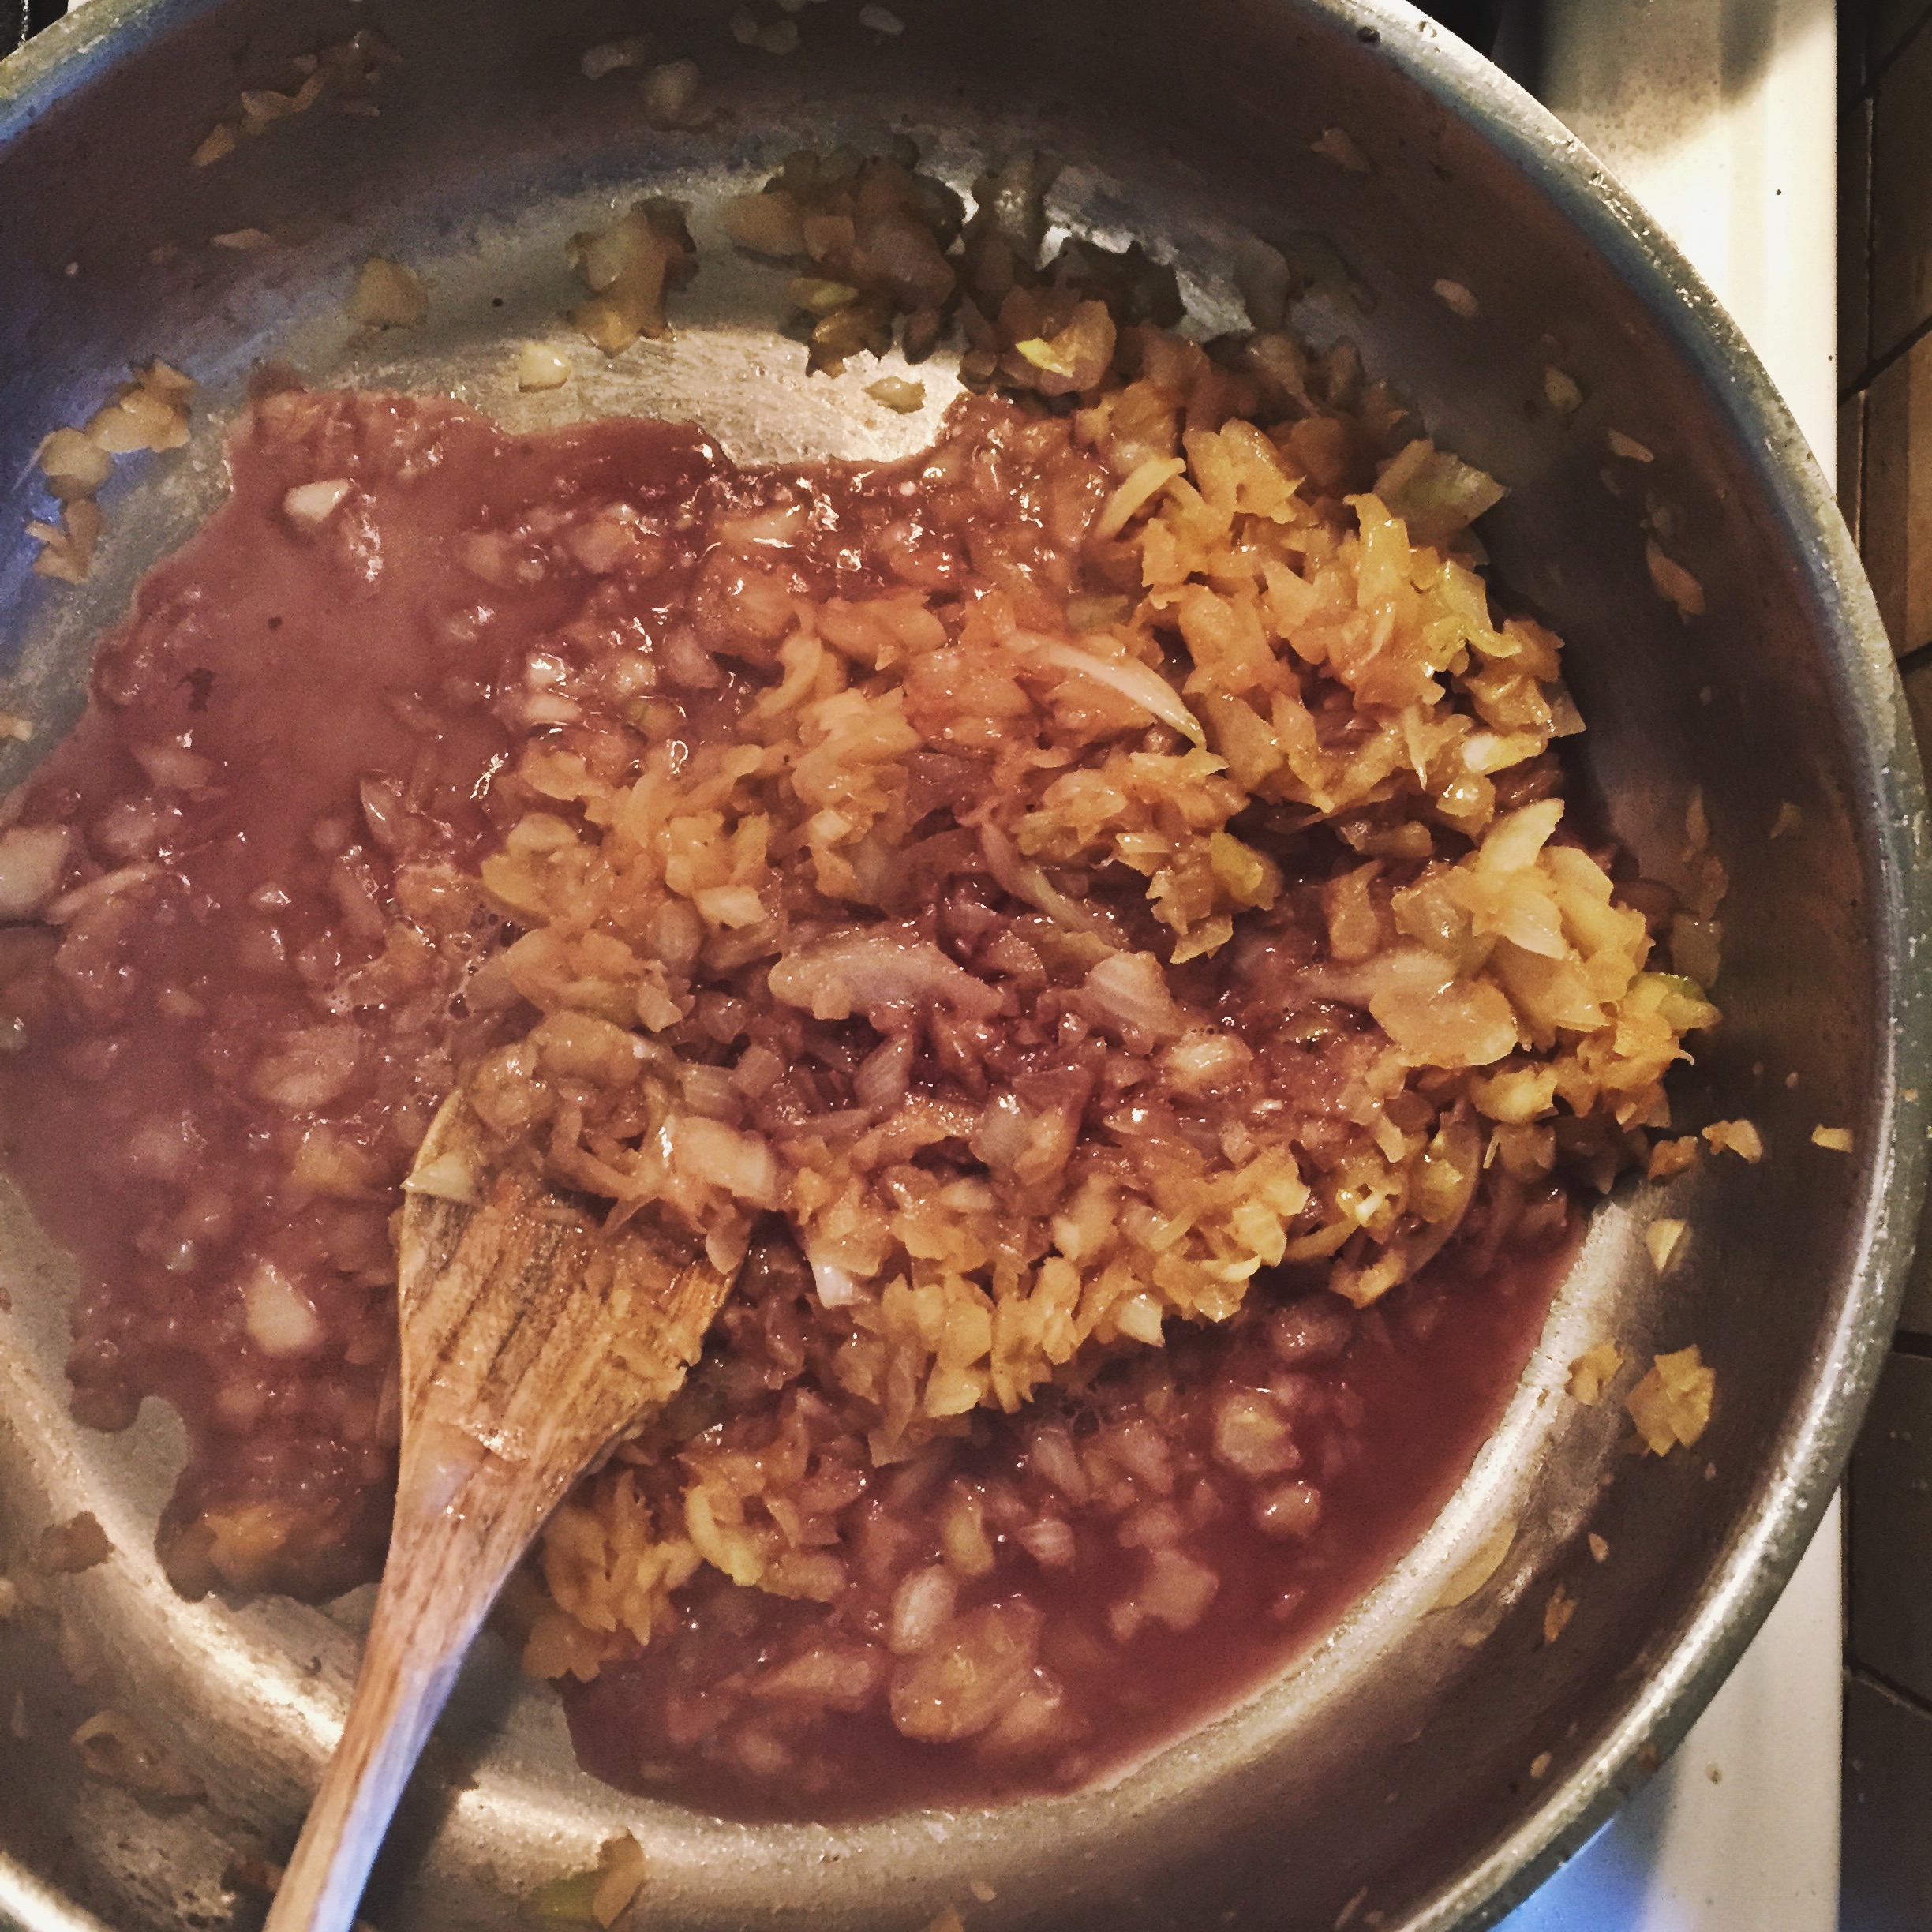
8. Sauté your mirepoix veggies until soft and translucent to extract the most flavour
- Saute or sweat your mirepoix veggies until they are super soft and translucent to bring out the most flavour.
- Seasoning with salt during this stage will bring out the natural juices and flavours of the veggies.
9. Always deglaze your pan with an acid of choice: wine, vinegar, citrus juice
- Deglazing your pans will improve ALL of your prepared meals going forward. This simple step is a secret weapon. If you adopt any cooking tips, let it be this one! Click here for a simple tutorial on deglazing
- Deglaze your pan with 1/4 cup acid of choice after your mirepoix veggies are soft and translucent
- The acid used to deglaze will result in different flavour profiles so feel free to try different things and get creative! For example, you can try wine today and then balsamic vinegar the next time!
- ALWAYS transfer alcohol into a small cup prior to pouring into your pan. Do not pour directly from the bottle.
- Scrape up all the cooking bits until the acid turns into a syrupy consistency (as seen in the 2nd picture below)

10. Use the proper cooking vessels for optimal results
- Browning your roast in a stainless steel pan will give you the best crust and cooking bits. However, you will need a different cooking vessel to roast.
- Always roast in a dutch oven or pot with a tight-fitting lid.
- You should try to avoid using a pot that is too large for your roast. Let your roast (and veggies) fit in snuggly or the finished dish will end up having a watered down gravy.
11. Place your roast over the mirepoix veggies and fill with your liquid of choice to about 2/3 up the roast
- The proper amount of liquid is crucial for creating the perfect amount of gravy.
- Too little liquid could dry up and burn your roast.
- The magic amount: Add liquid until you reach 2/3 up the roast.
- Choose your liquid of choice (or any combination) to customize your pot roast.
- Some liquid choices include: Wine, bone broth, juice, citrus, beef stock, water.

12. Roast at a lower cooking temp of 250f-300f and flip the roast 2-3 times
- Slow and low is the key to a successful pot roast.
- Flipping 2-3 times during the cooking process will ensure that all of the roast gets submerged so that it can absorb the delicious cooking liquid.
- A slow cooked roast will have a deeper red colour.
13. The roast is done only when the meat pulls apart easily with two forks
- There should never be a need to use a knife to cut the roast when testing for doneness. The meat will tear apart with two forks with no effort when properly done.
- If there is resistance, continue to cook the roast until the meat is fork tender.
- The roast in the above pictures took around 3 hours at 300f and was cooked to the perfect fork tender!
14. Customize your gravy
- Test the seasoning of your gravy before serving.
- For a thicker consistency, you can try pureeing some of your root vegetables with a small amount of your cooking gravy and add back to the gravy.
- For a richer taste, add in a tablespoon of grass-fed butter if you can tolerate it.
- To lighten, try adding a drizzle of fresh lemon juice.
- For a regional flair, feel free to try adding some fish sauce / coconut aminos / mustard!
15. Let the meat rest and cool slightly before digging in
- A pot roast is not meant to be eaten piping hot. You will want to wait for it to cool down a bit so that your taste buds can properly register all of those delicious flavours!

Phew! That was a lot of writing!
I really hope you enjoy the post. Please leave me some comments if you found it helpful or if you have any pot roast tips to share!


3 thoughts on “15 Steps to the Perfect Pot Roast (and Killer Gravy)”
cookingwithdogs
Would this work in a crockpot?
Simply Hollie
Yes! Follow steps 1-9 as written and then transfer to your crockpot. Cook on low until fork tender! You can customize your gravy (step 14) once the roast is done. Let me know if you try!!
cookingwithdogs
Thanks. I plan to soon.